

Hello, and Happy New Year!!
Over the last few weeks, Ive been very busy in my kitchen, revisiting old recipes, and trying out some new ones. I took advantage of some Christmas sales, and bought myself some small appliances which has revitalized my love of cooking.
This recipe doesnt require any fancy mixers or cookers; all you need is a few ingredients, a large mixing bowl, and a very hot oven.
If you want a thick, crispy crust, I have found that a cast iron dutch oven, with a heavy lid, works best for baking. It traps the moisture inside as the steam is escaping the dough, forming that much sought after artisan bread at home. I bought mine at Canadian Tire, and for a limited time there is one on sale, drastically reduced.

Just an FYI these pots must be pre-heated in the oven, and they will give off some smoke when pulled from the oven to place your dough into. Beware your smoke detectors, and make sure your ventilation fan is turned on if you have one!! It doesnt smell pretty, but the bread is amazing.
To make this dough you will need a large bowl, a wooden spoon, or a dough whisk. I recently bought mine at a local boutique that sells kitchenware, and I love it. It works extremely well for mixing dough.

Recipe Makes enough dough for bread, rolls, pizza or flatbread to serve 12 to 16.
Equipment needed:
16 cup mixing bowl, and a wooden spoon or dough whisk. Thermometer optional used to make sure the temperature of water is lukewarm, about 100 F / 38 C, to activate the yeast.
Tips: Combing 1.5 cups (375 ml) hot, with 1.5 cups (375 ml) cold, will result in lukewarm water of approximately 100 F or 38 C.
Dough is good for up to 9 days when refrigerated.
- 6.5 cups / 1.625 L unbleached all-purpose or bread flour
- 1.5 TBSP / 22 mL instant or bread machine yeast
- 1.5 TBSP / 22 mL fine sea salt
- 3 cups / 750 mL lukewarm water (approx 100 F / 38 C
- Combine dry ingredients in large mixing bowl.
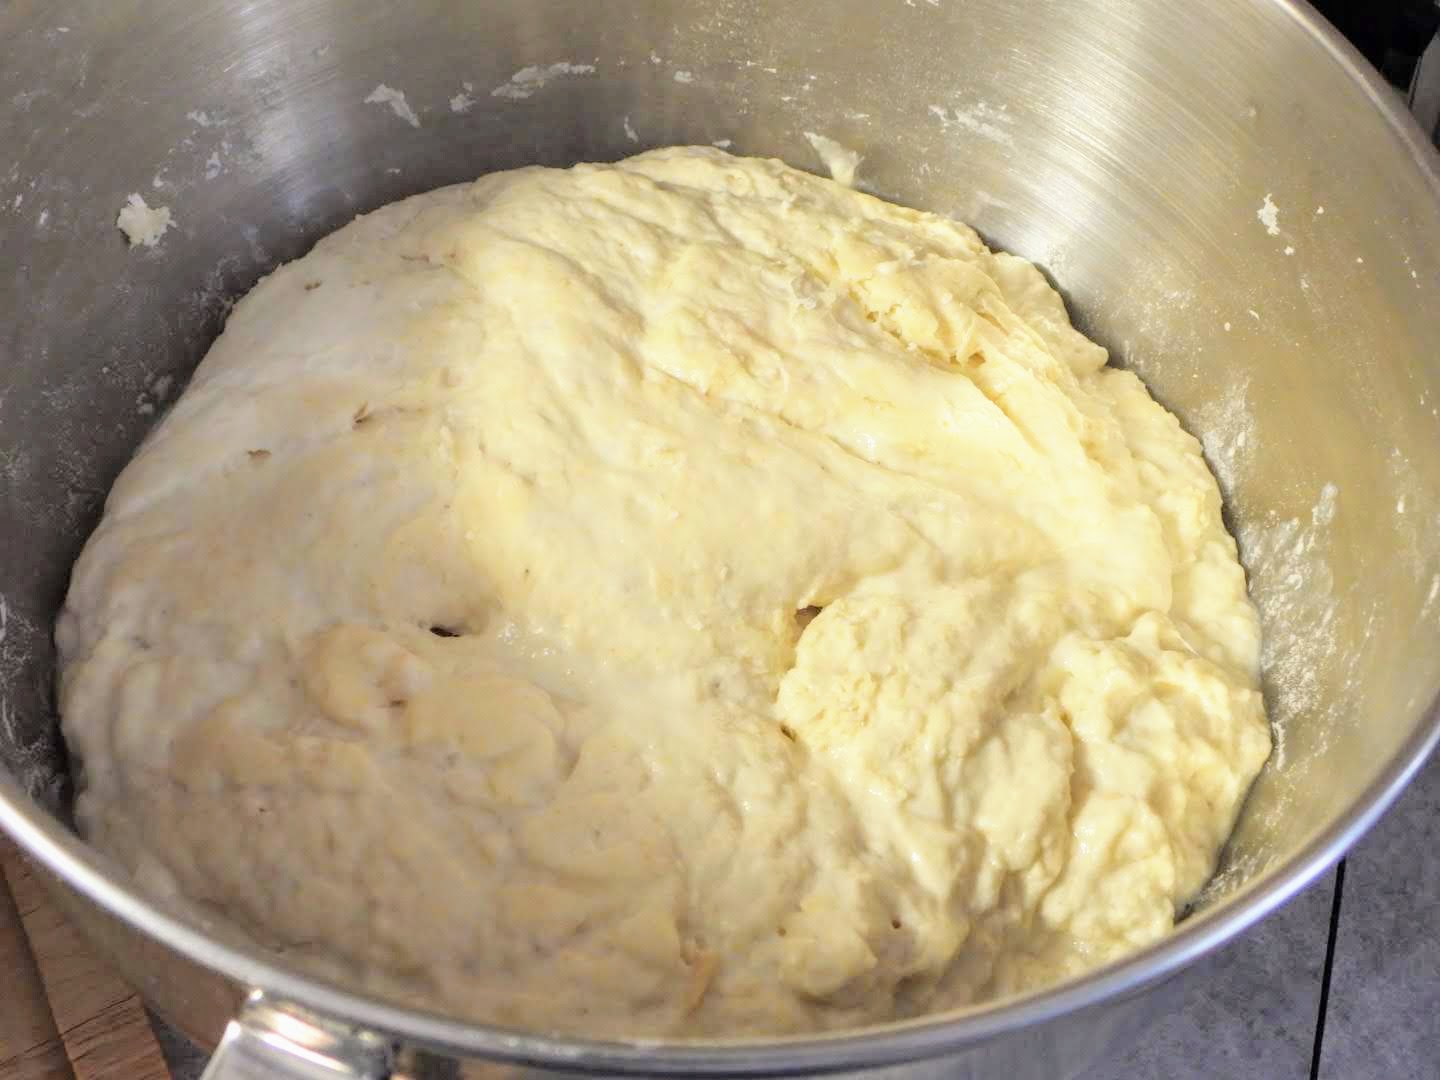
- Add water and stir together until just moistened. Beat 40 strokes, scraping the bottom and the sides of the bowl until the dough forms a lumpy, sticky mass.
- Rise Cover the bowl with a clean, dampened kitchen towel, and let rise at room temperature for 2 hours or until the dough has risen nearly to the top of the bowl. It should resemble a sponge-like appearance.
- Use right away, or refrigerate. Use that day, or place the dough in the refrigerator for up to 9 days before baking.
Baking with Canadian Flour
Canadian flour has a higher protein content than some US flours, and absorbs more water. If you are using Canadian BREAD flour, use a half cup less and add just enough of the remaining 1/2 cup to make a thick, paste-like dough. If using all-purpose flour there is no need to adjust the amount used.
To bake your dough:
Dust countertop, pan, or cutting board with excess flour, or cornmeal preventing it from sticking to the surface as it rises.
Remove amount of dough wanted (for use as buns, pizza dough, loaves, baguettes, etc) from refrigerator and allow it to rise for 40 minutes at room temperature.
Approximately 30 minutes before baking, preheat oven (and dutch oven or pizza stone) at 450 F, on middle oven rack.
Once dough has risen and oven temperature is reached, place dough inside your preheated dutch oven and cover with the lid BE CAREFUL as it will be VERY HOT!!! or transfer dough to preheated pizza stone and place a pan of cold water beneath it on the lowest rack.
Cooking times will vary dependent on size of bun or bread loaf you are baking. Bread is cooked once the inside temperature reaches 190 F.
If baking inside a dutch oven, remove lid and allow it to brown for several minutes.
Allow it to cool, for best results. Or if youre like mewait as long as you can before you can no longer resist!!
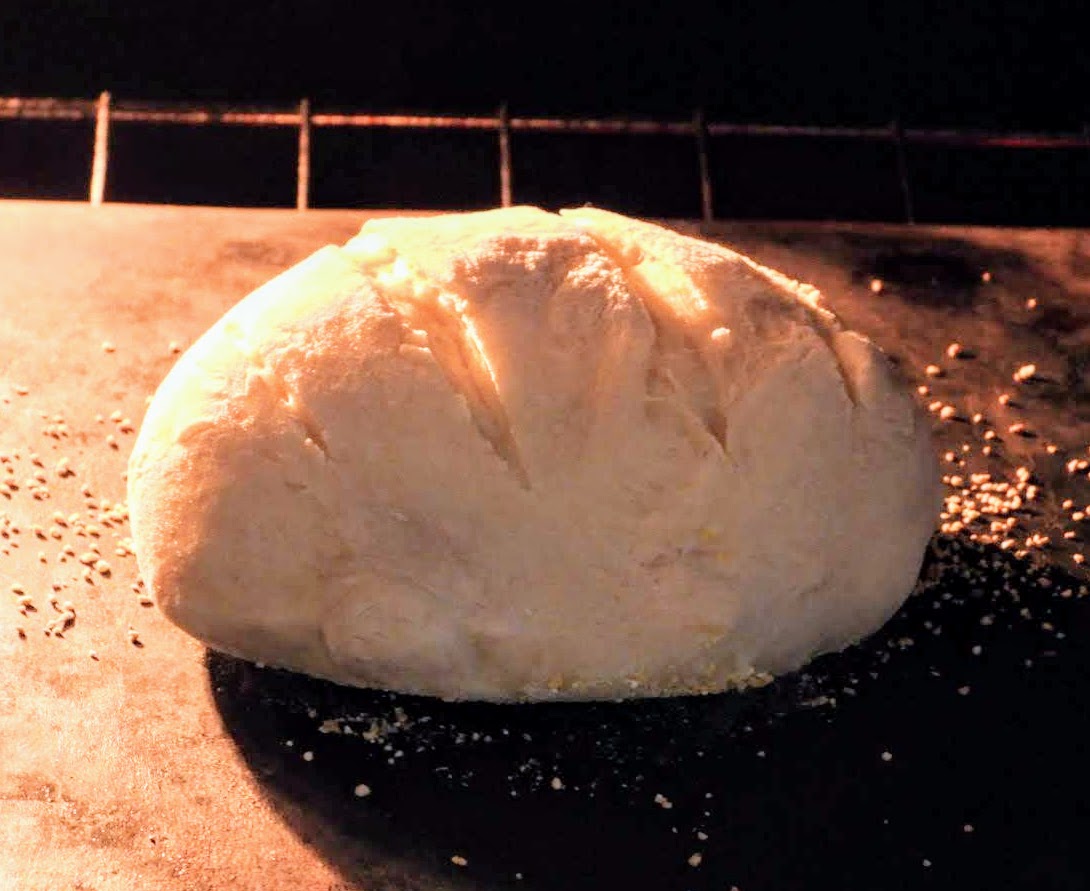
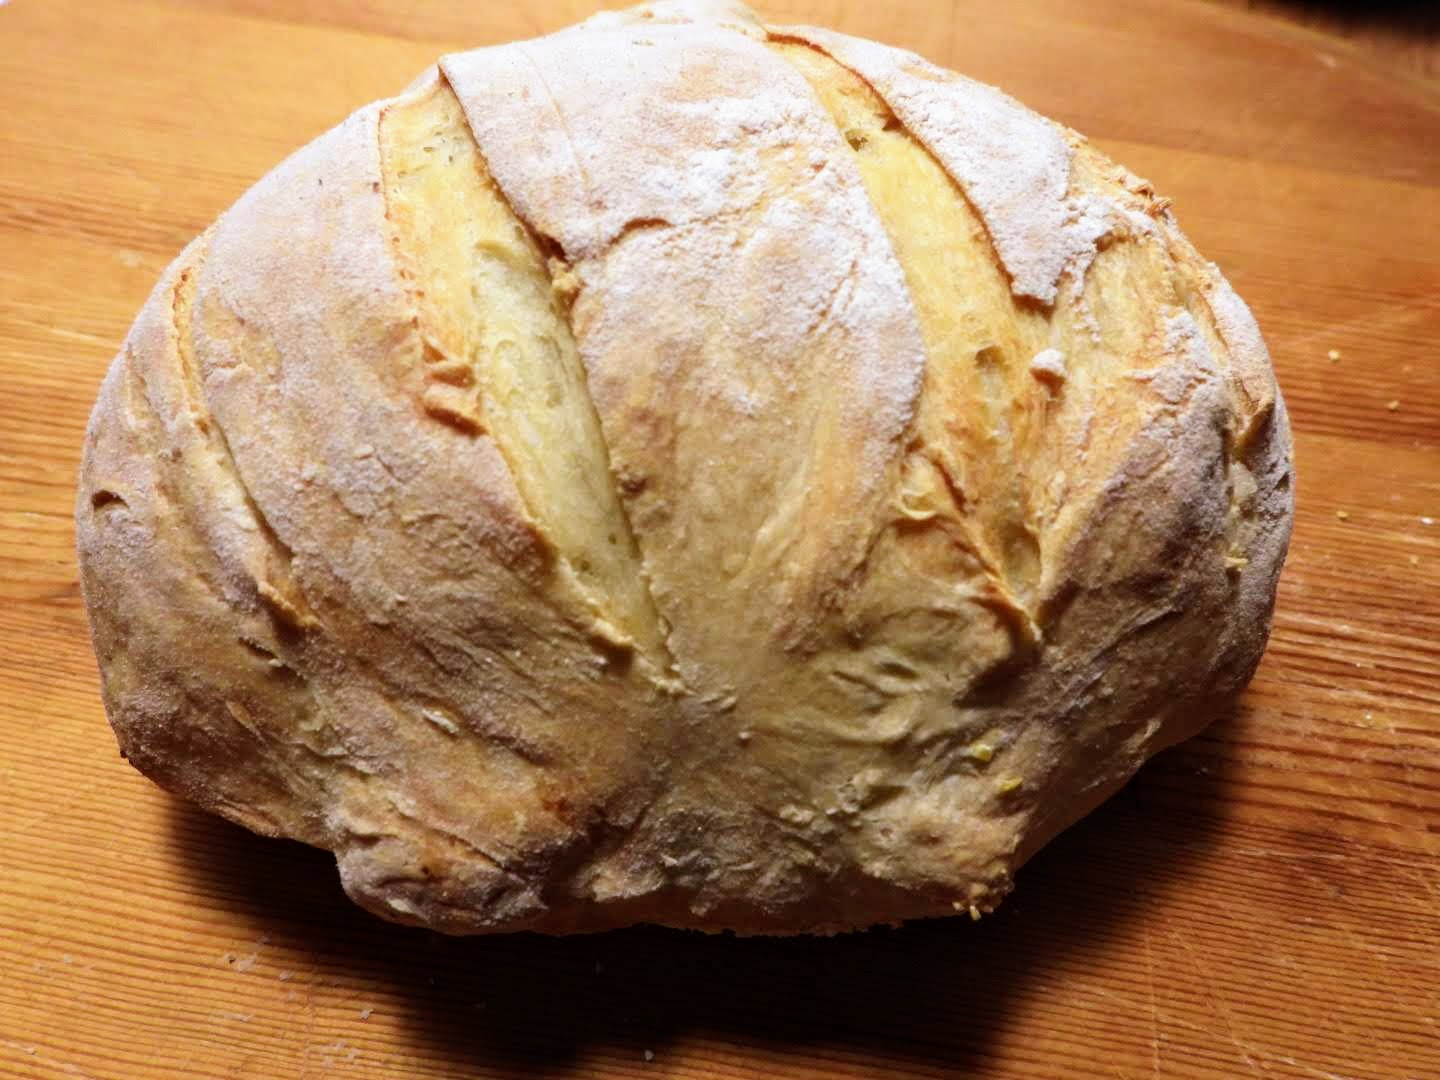
Below..as you can see, this was baked on my pizza stone.
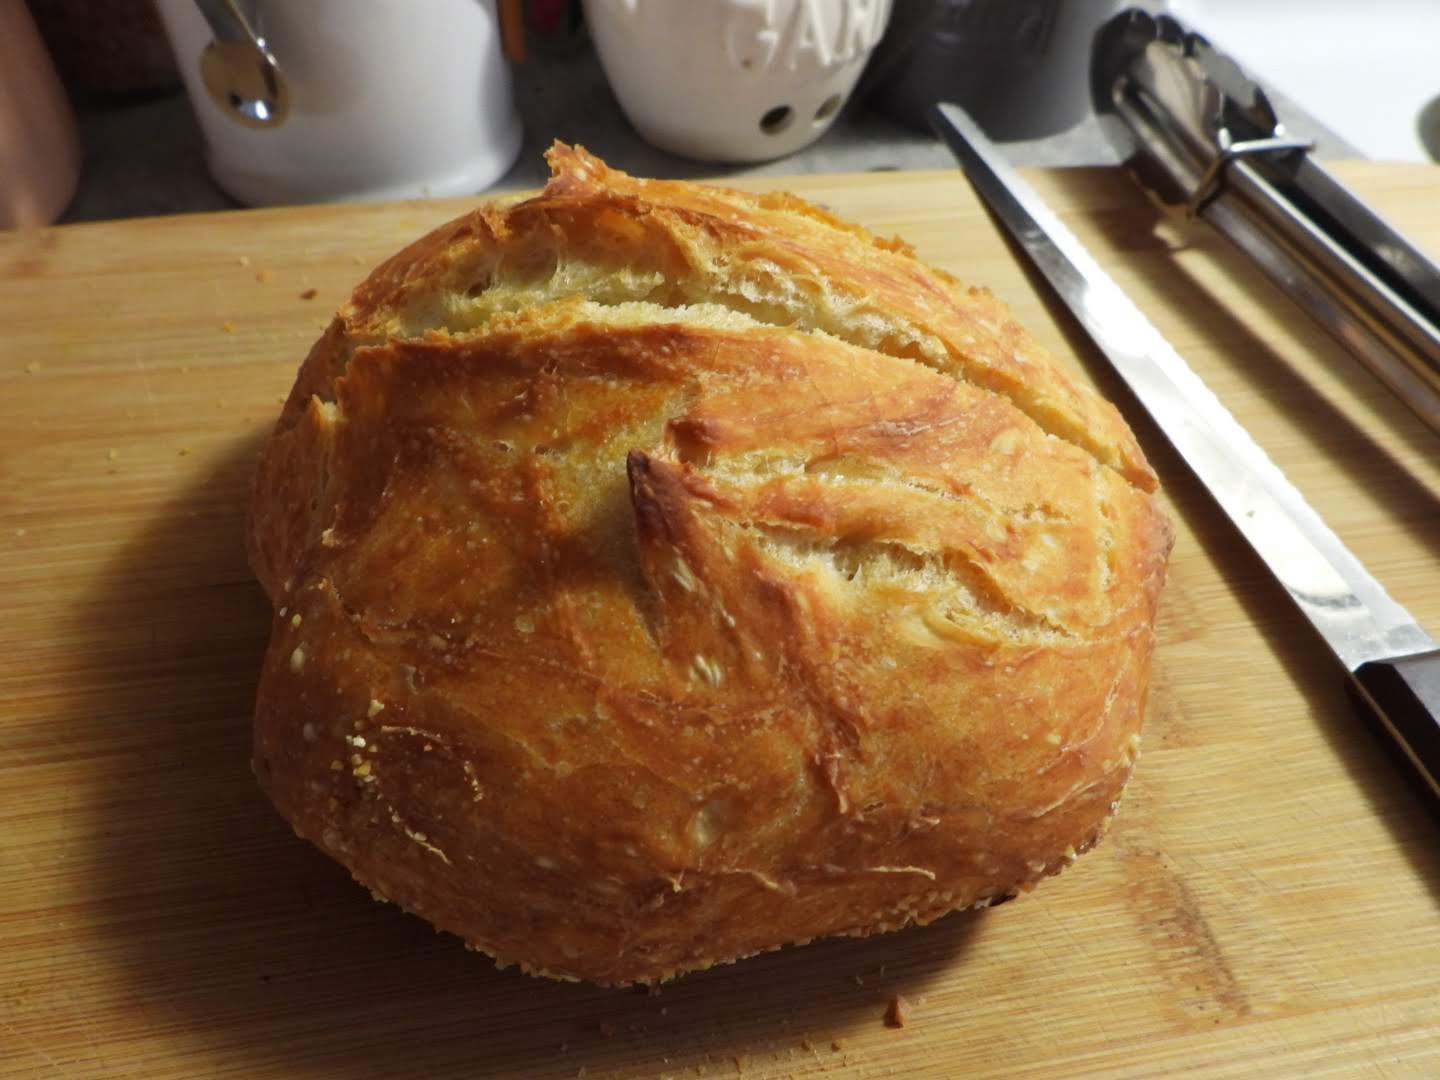
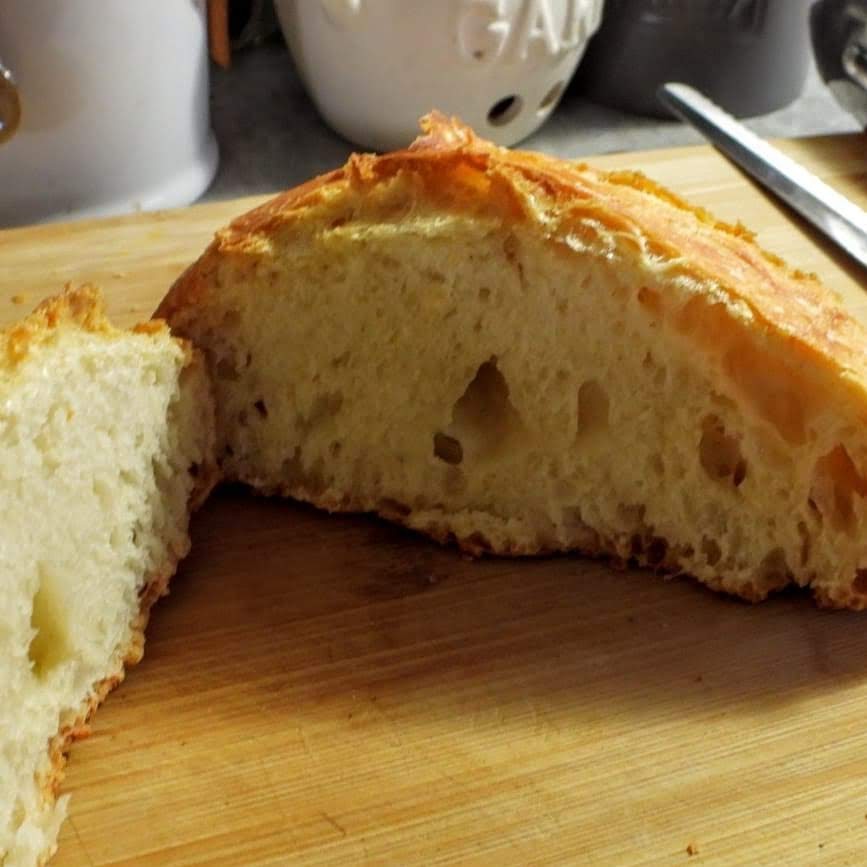
This is a loaf which was baked inside a dutch oven. The crust is much denser.
I hope you enjoy this recipe, and stay tuned for more flavour variations on this dough as I continue to experiment with additions of multi-grains.