

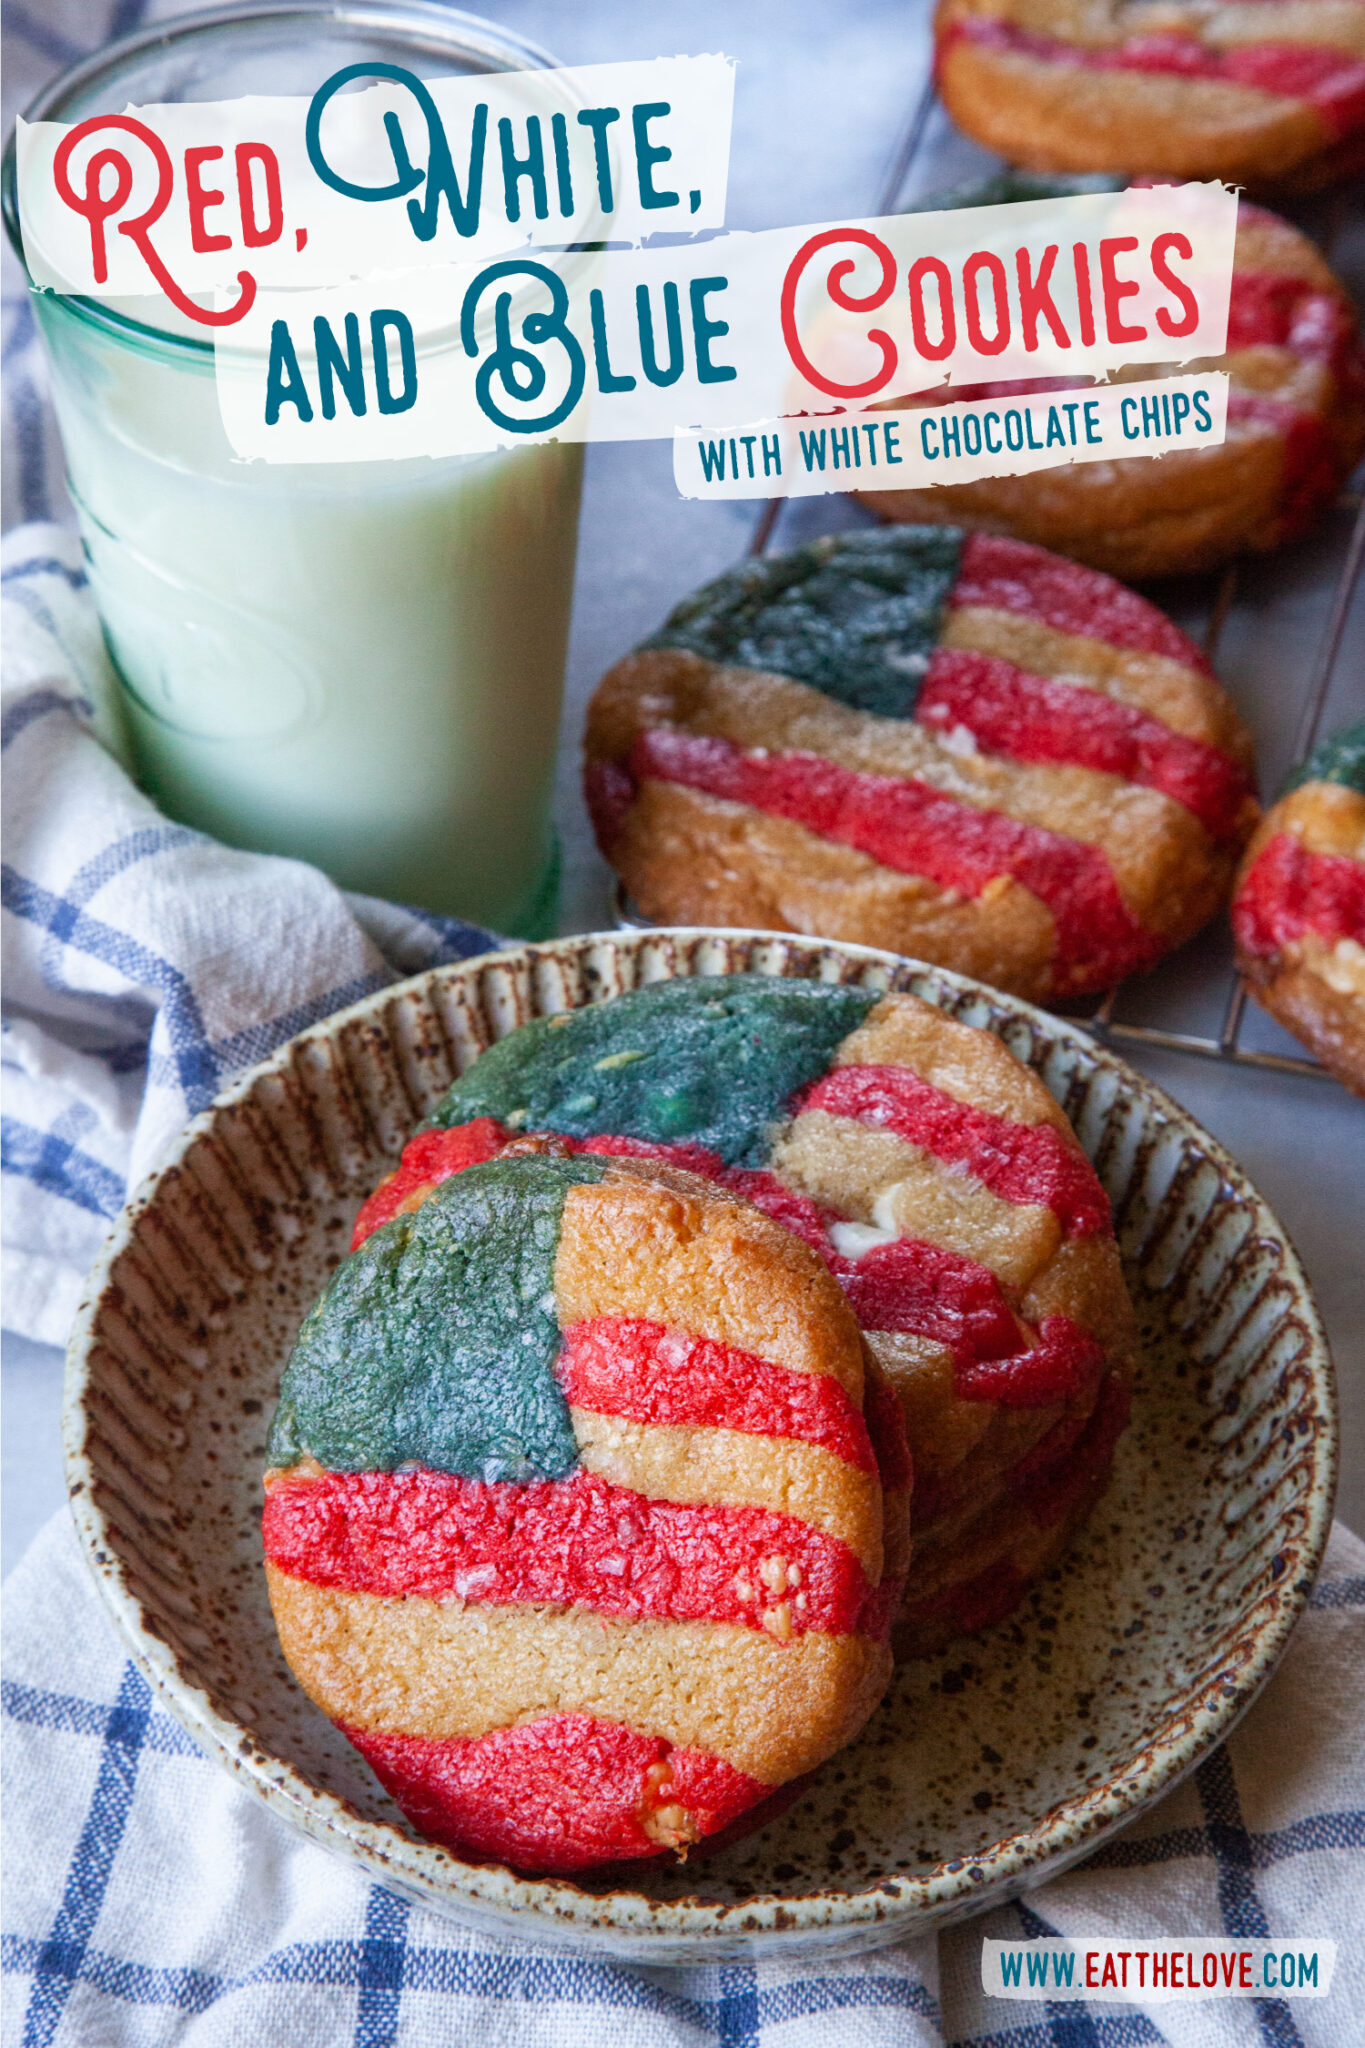
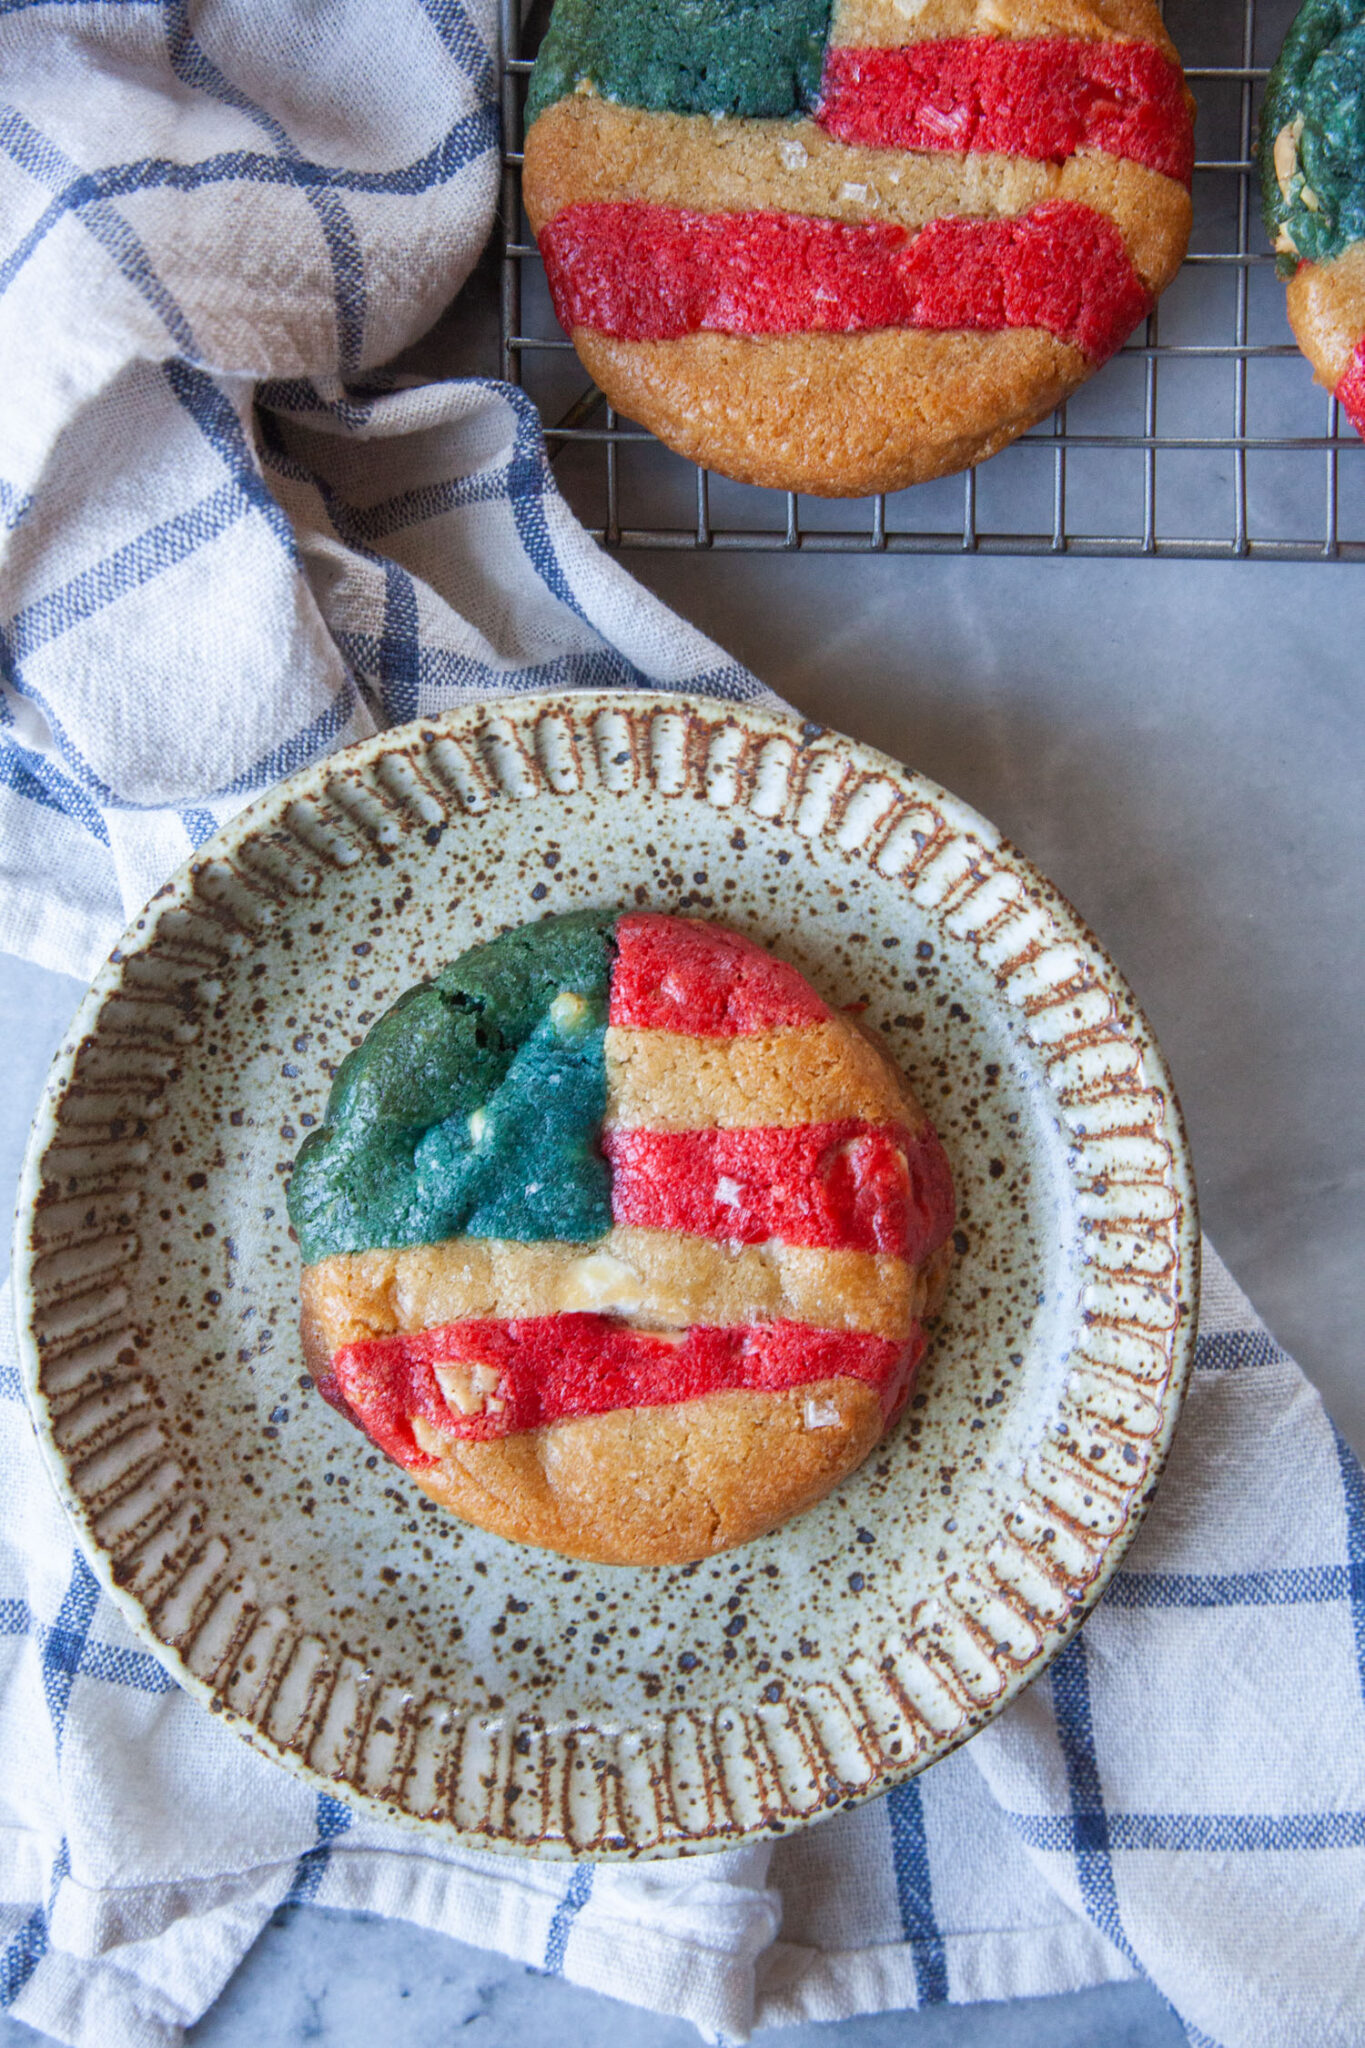
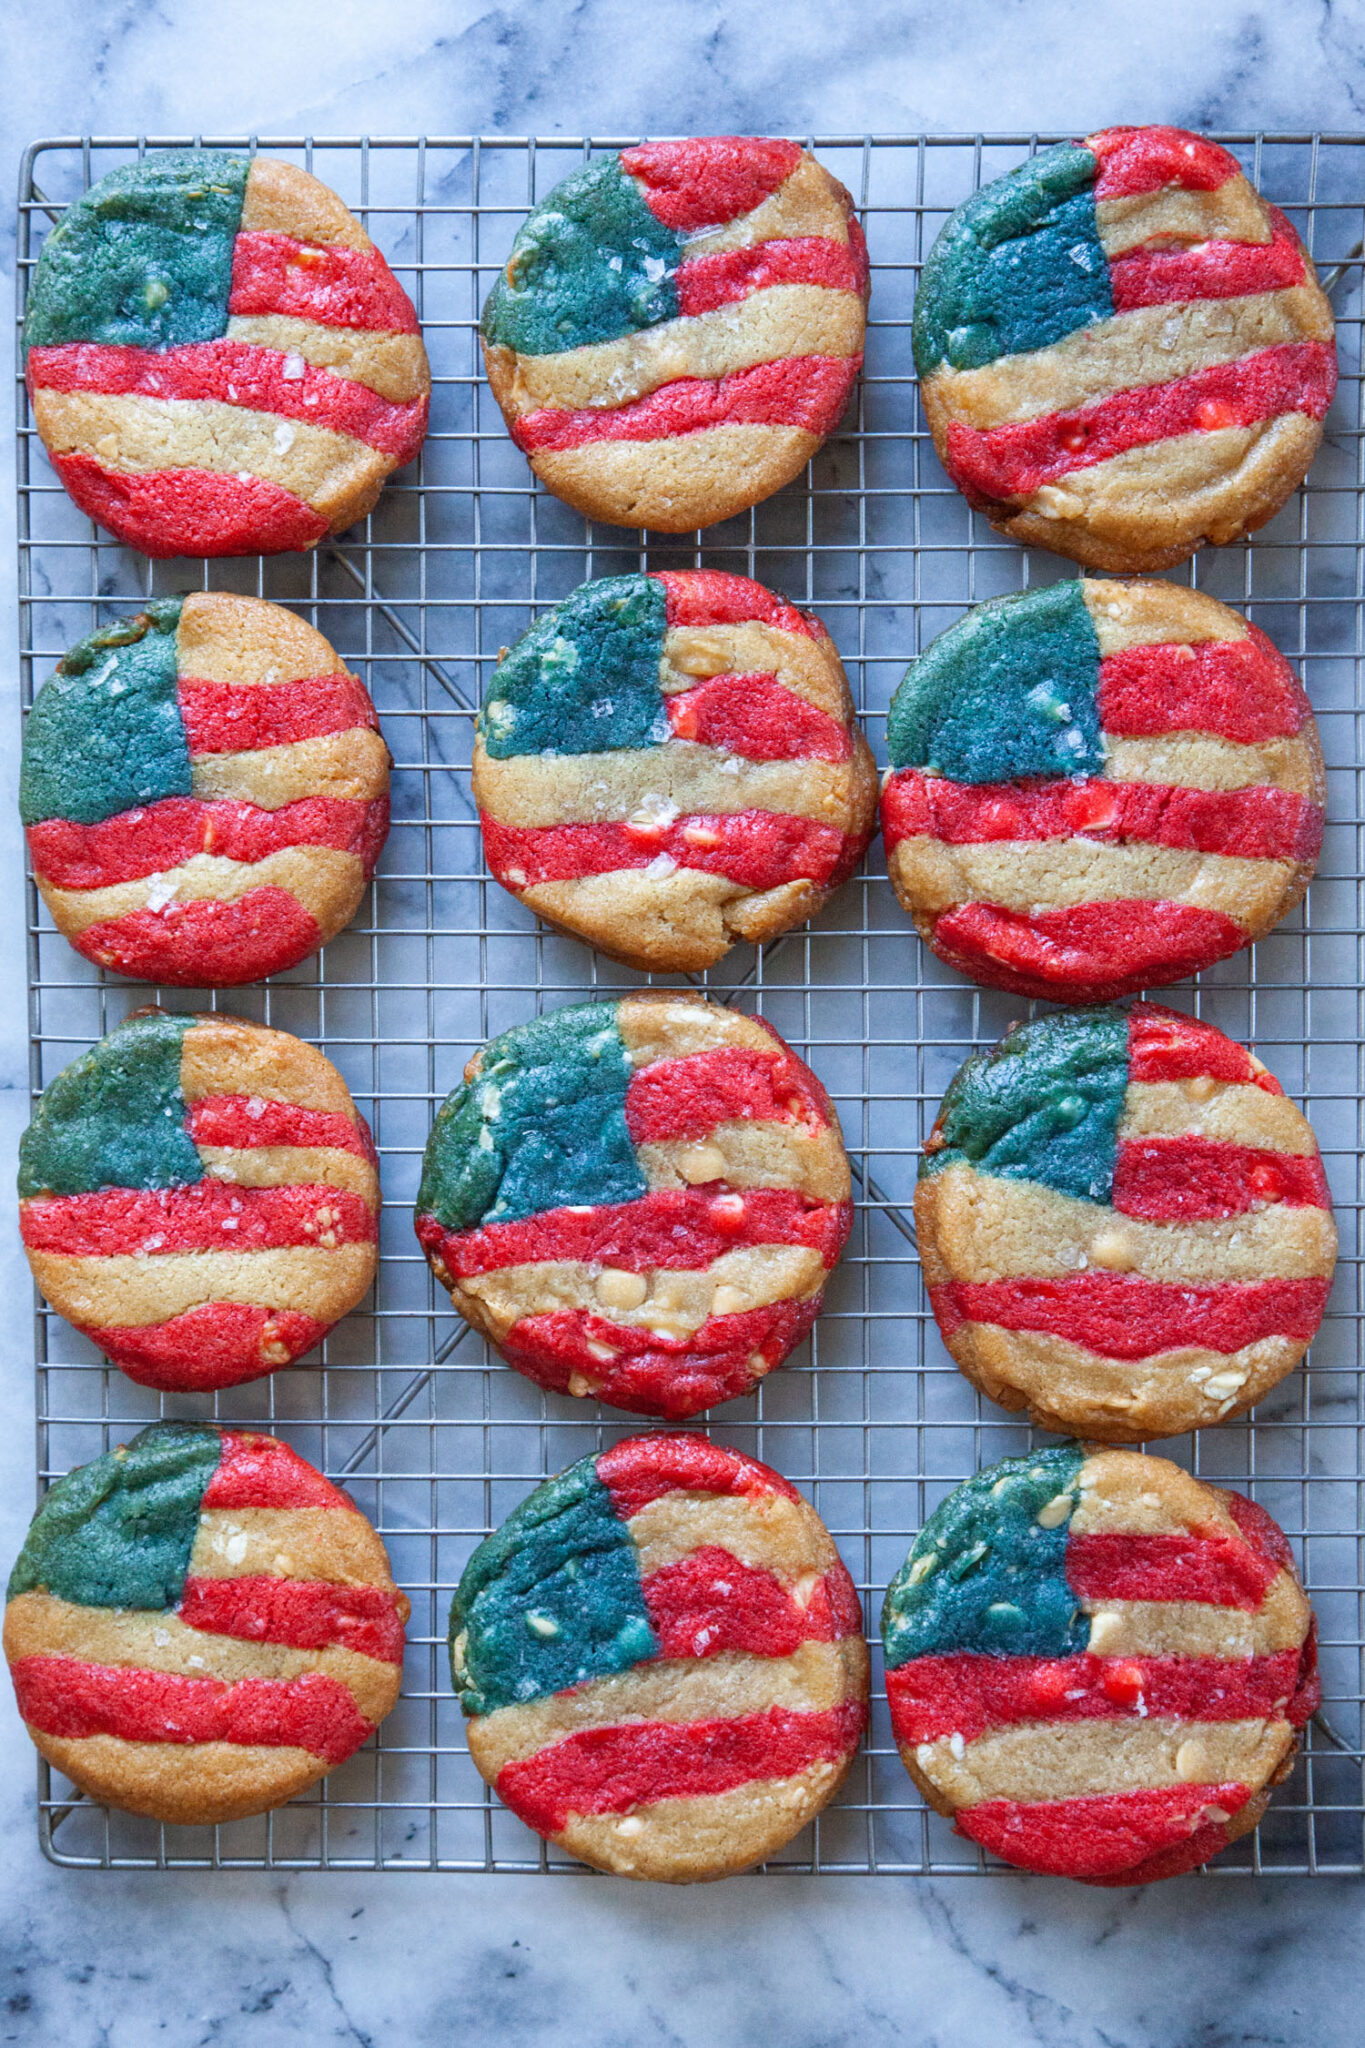
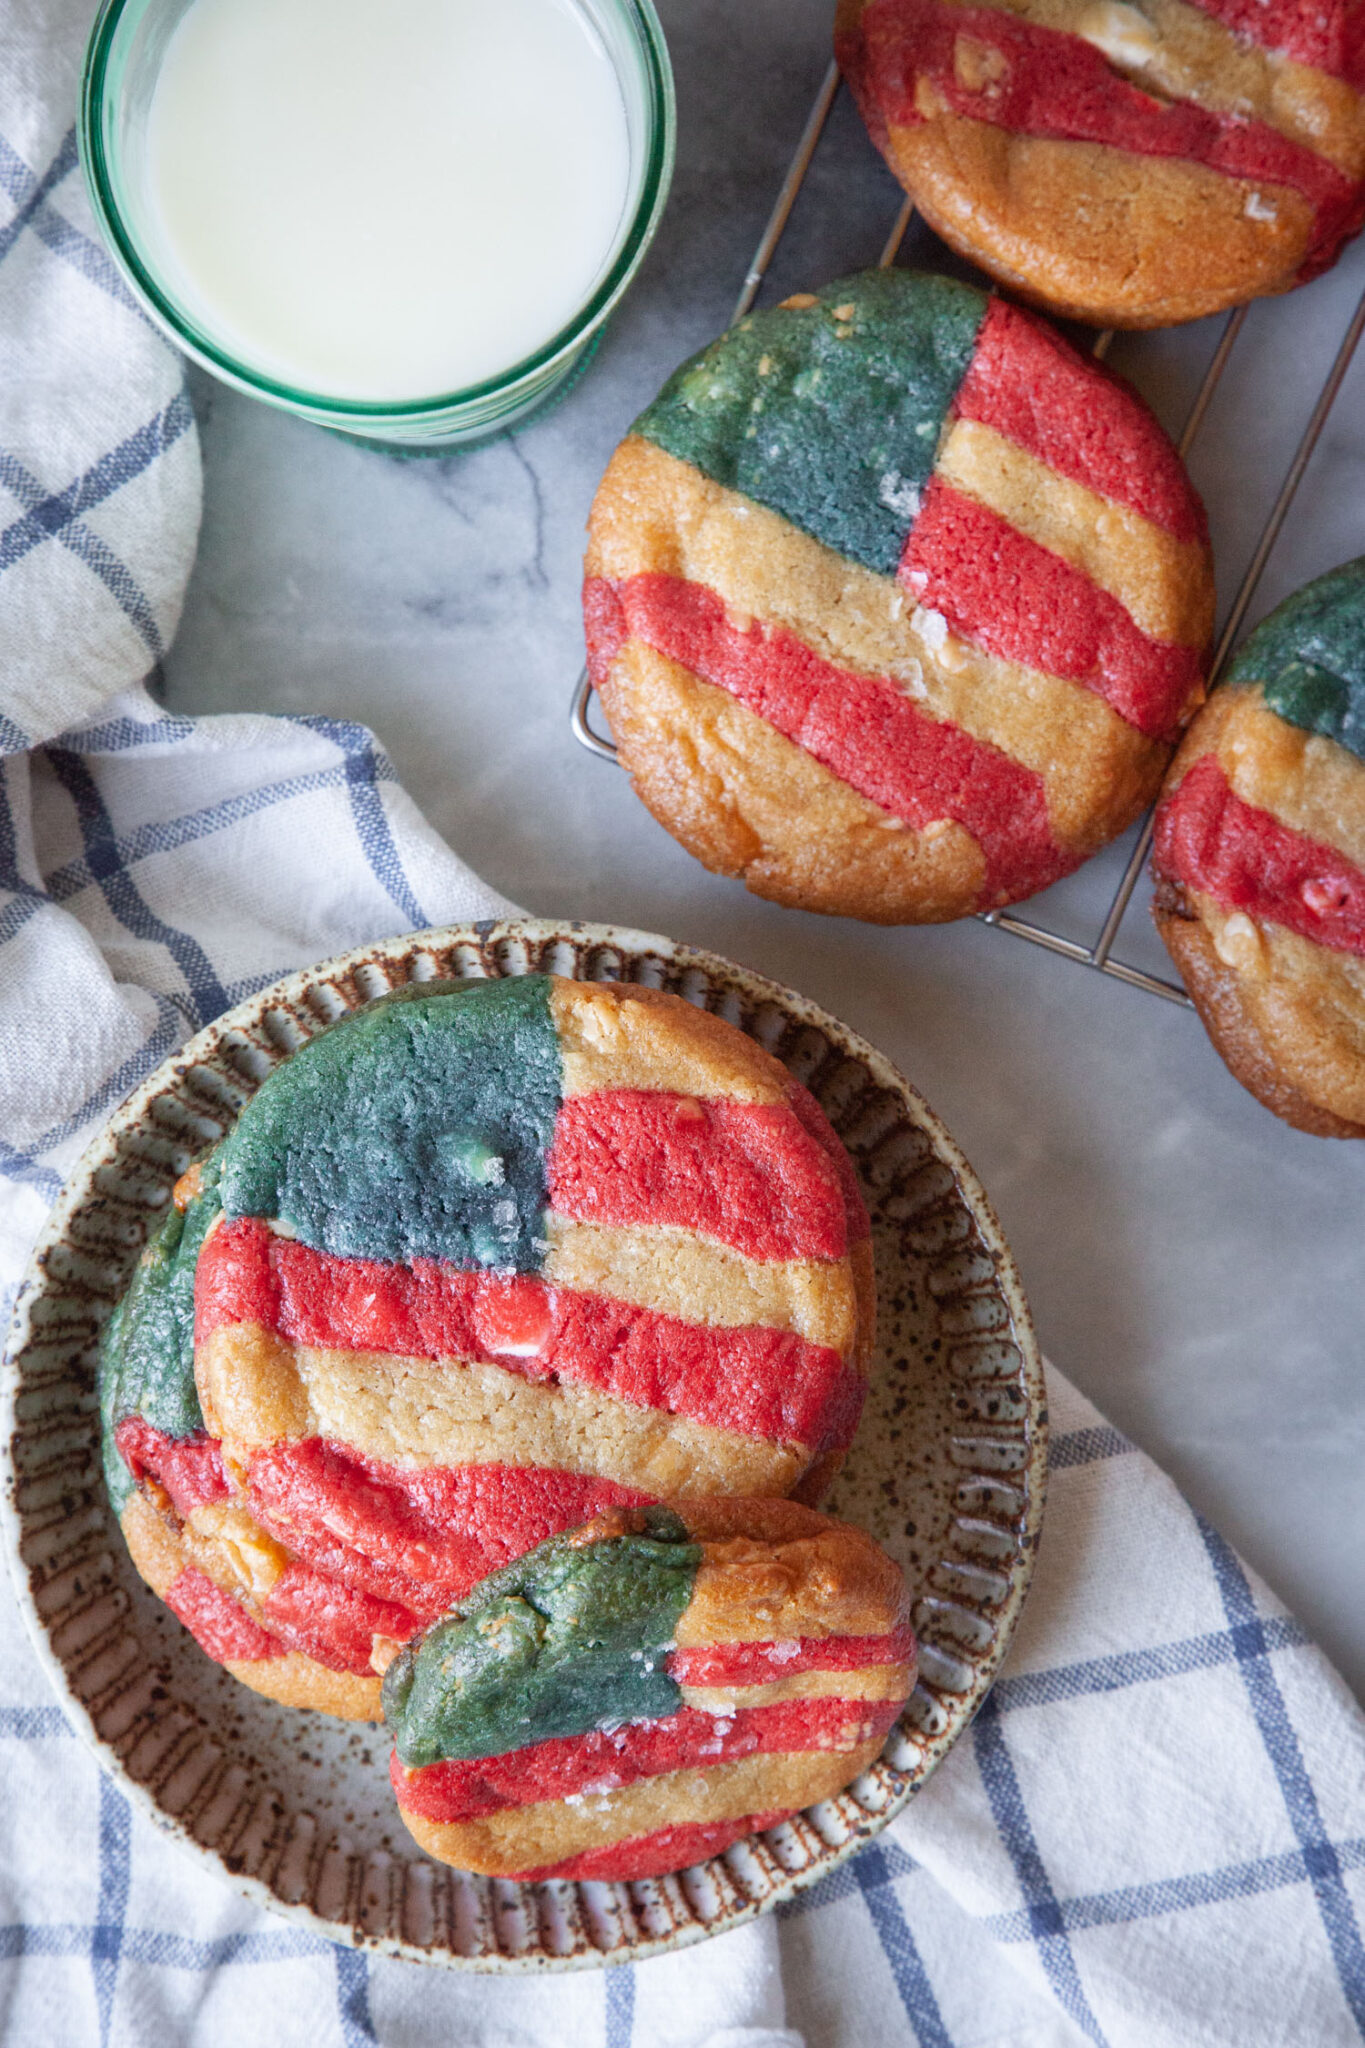
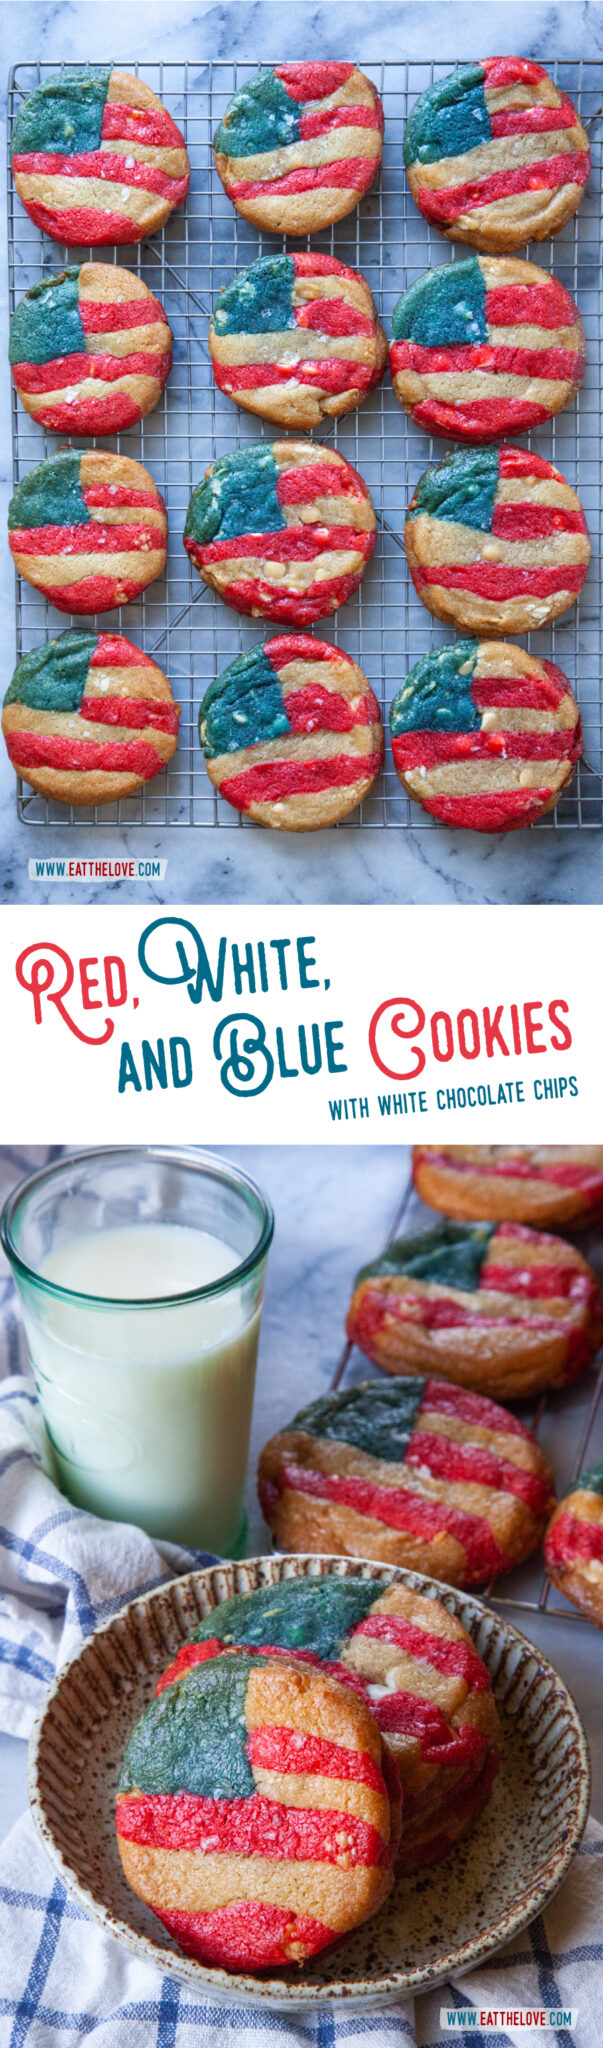
These stunning red, white, and blue cookies with white chocolate chips are a patriotic American flag-inspired cookie that is a fun project!
A few years ago, I made rainbow chocolate chip cookies and they were a huge hit with friends and on social media. But the technique for coloring the dough is pretty versatile and can be adapted for so many other cookies and designs! In fact, I took the same principle and made peppermint red-striped white chocolate cookies. And this time I decided to take the same cookie base and a similar technique and made these patriotic red, white, and blue cookies. They’re pretty stunning to serve up and absolutely fun to make as well as fun to eat! And though they look complicated to make, I give step-by-step instructions, as well as a video in this post, so watch carefully and you’ll see it’s not as difficult at is looks.
How do you make these red, white, and blue American Flag cookies?
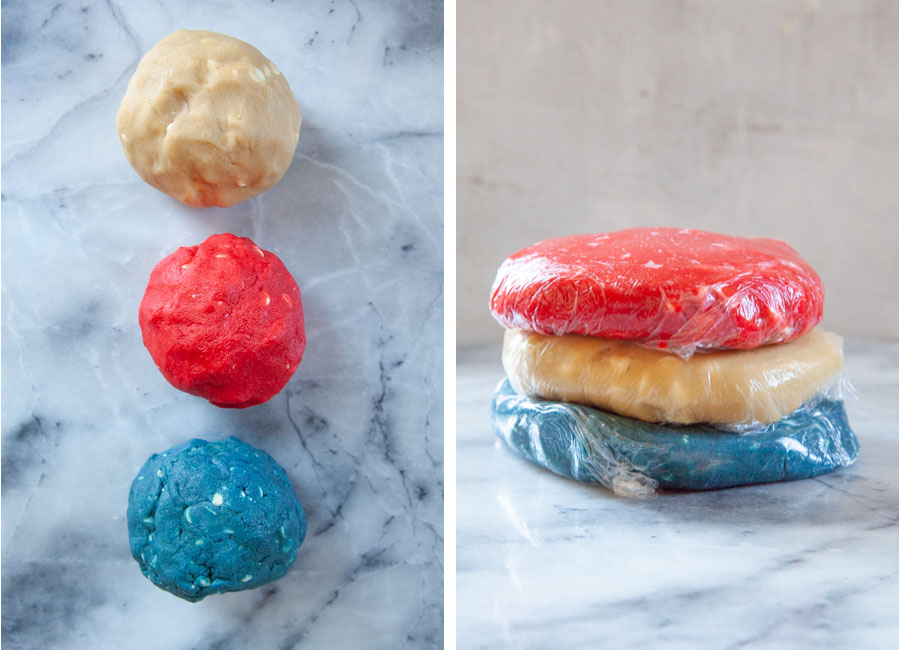
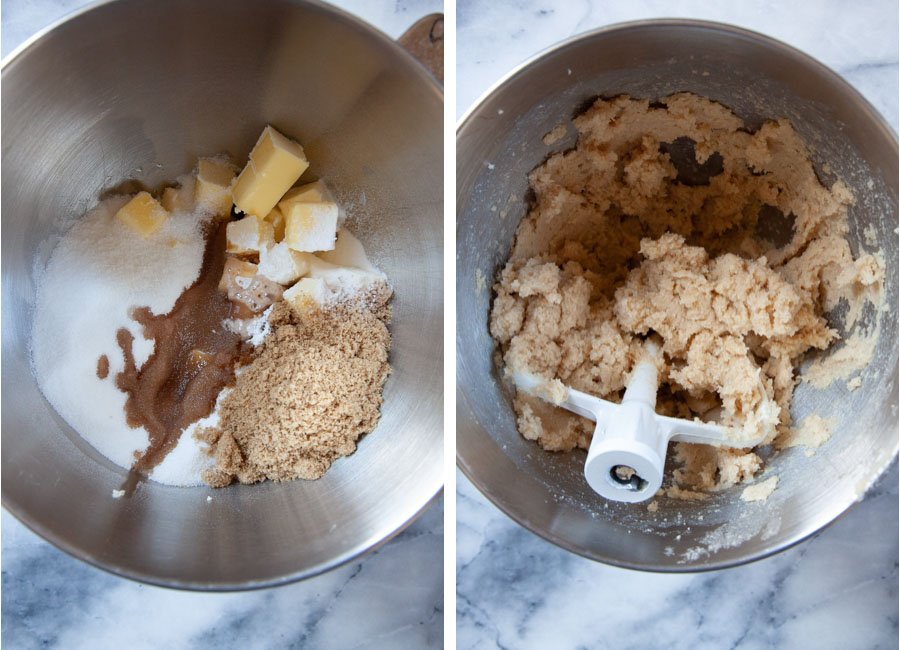
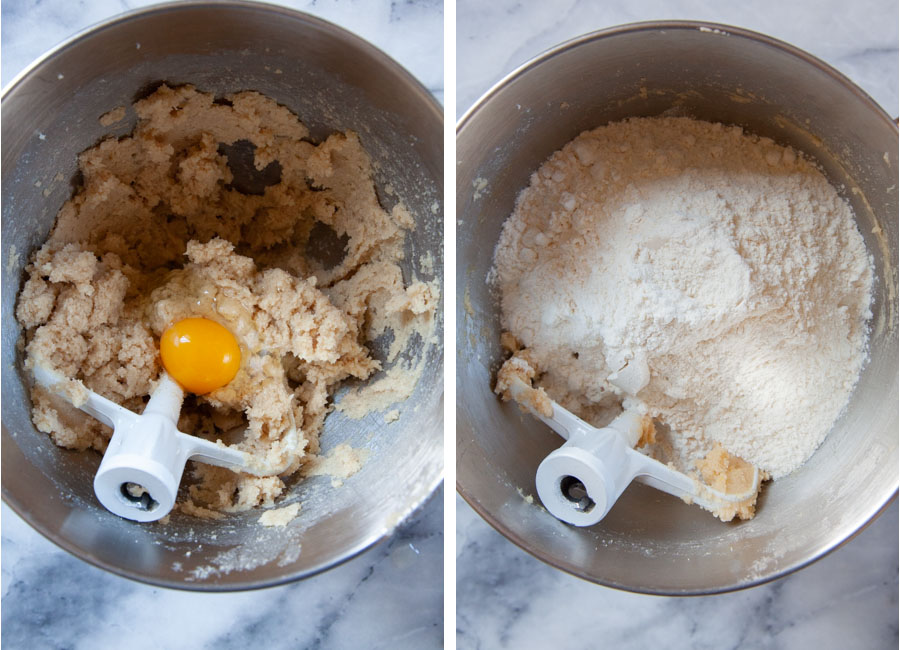
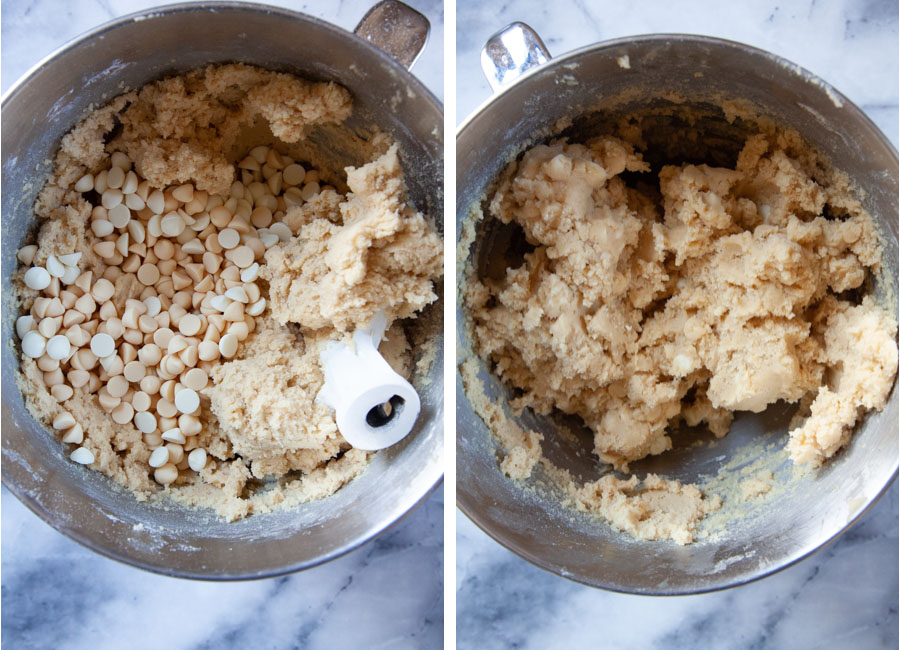
Making the cookies starts with making the dough. First cream the butter, sugar, brown sugar, vanilla extract, baking powder, baking soda and salt together in the bowl of a stand mixer. Then add the eggs, one at a time. Add the flour, gently stirring until absorbed and fold in the white chocolate chips. Divide the dough into three portions and add red food coloring to one portion and blue food coloring to another portion, leaving one plain.
Chill the dough thoroughly to make it easy to handle. Then form the cookies!
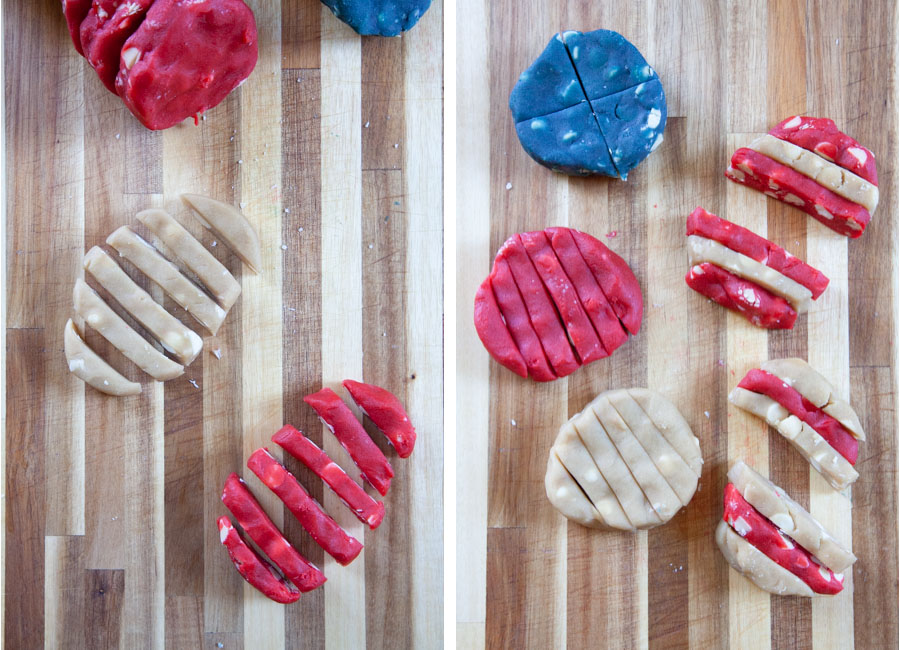
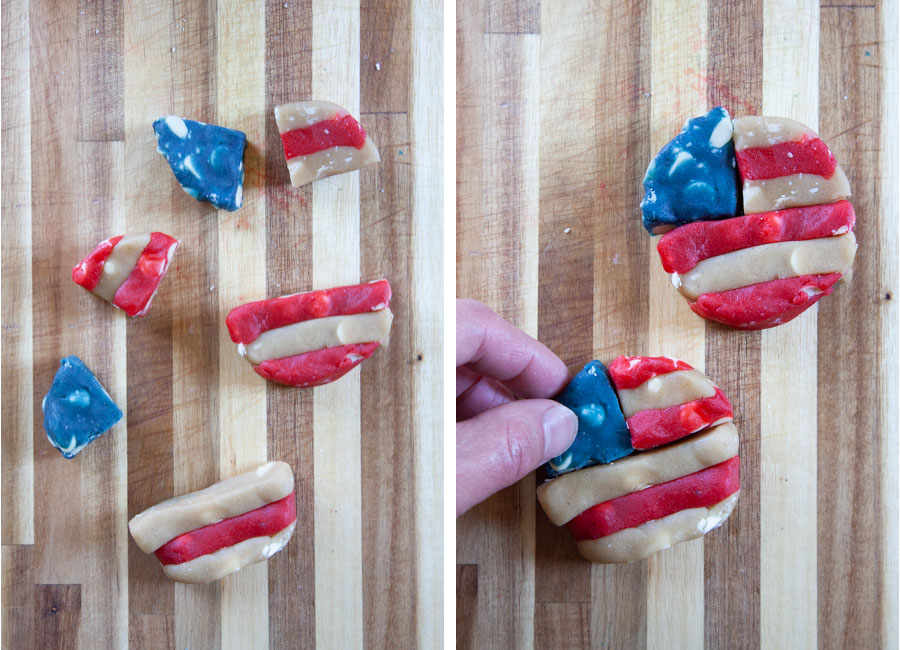
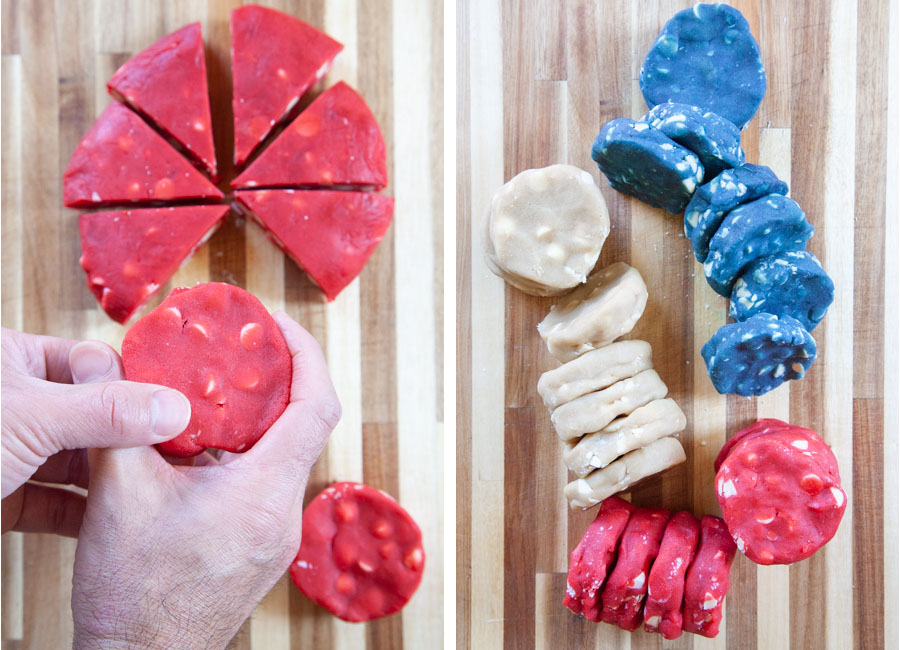
First divide each portion of dough into 8 pieces. Then form 2-inch wide disks with each dough piece. Slice one of plain non-colored cookie dough disks and one of the red cookie dough disks into 6 horizontal slices. Cut the blue cookies into quarters.
Place a red, white, and red slice together to make a half disk. Repeat this process, placing a white, red, and white slice together to make the other half of the disk. Cut one of the half disks in two, forming a quarter slice, the same shape as the blue quarters.
Then assemble the cookie by placing a blue quarter, a red and white stripe quarter, and the bottom half disk of red and white stripes together. Squish them and then repeat the process with the remaining dough. Keep in mind, you might need to flip upside down or rotate the quarter pieces to make them alternate in colors properly.
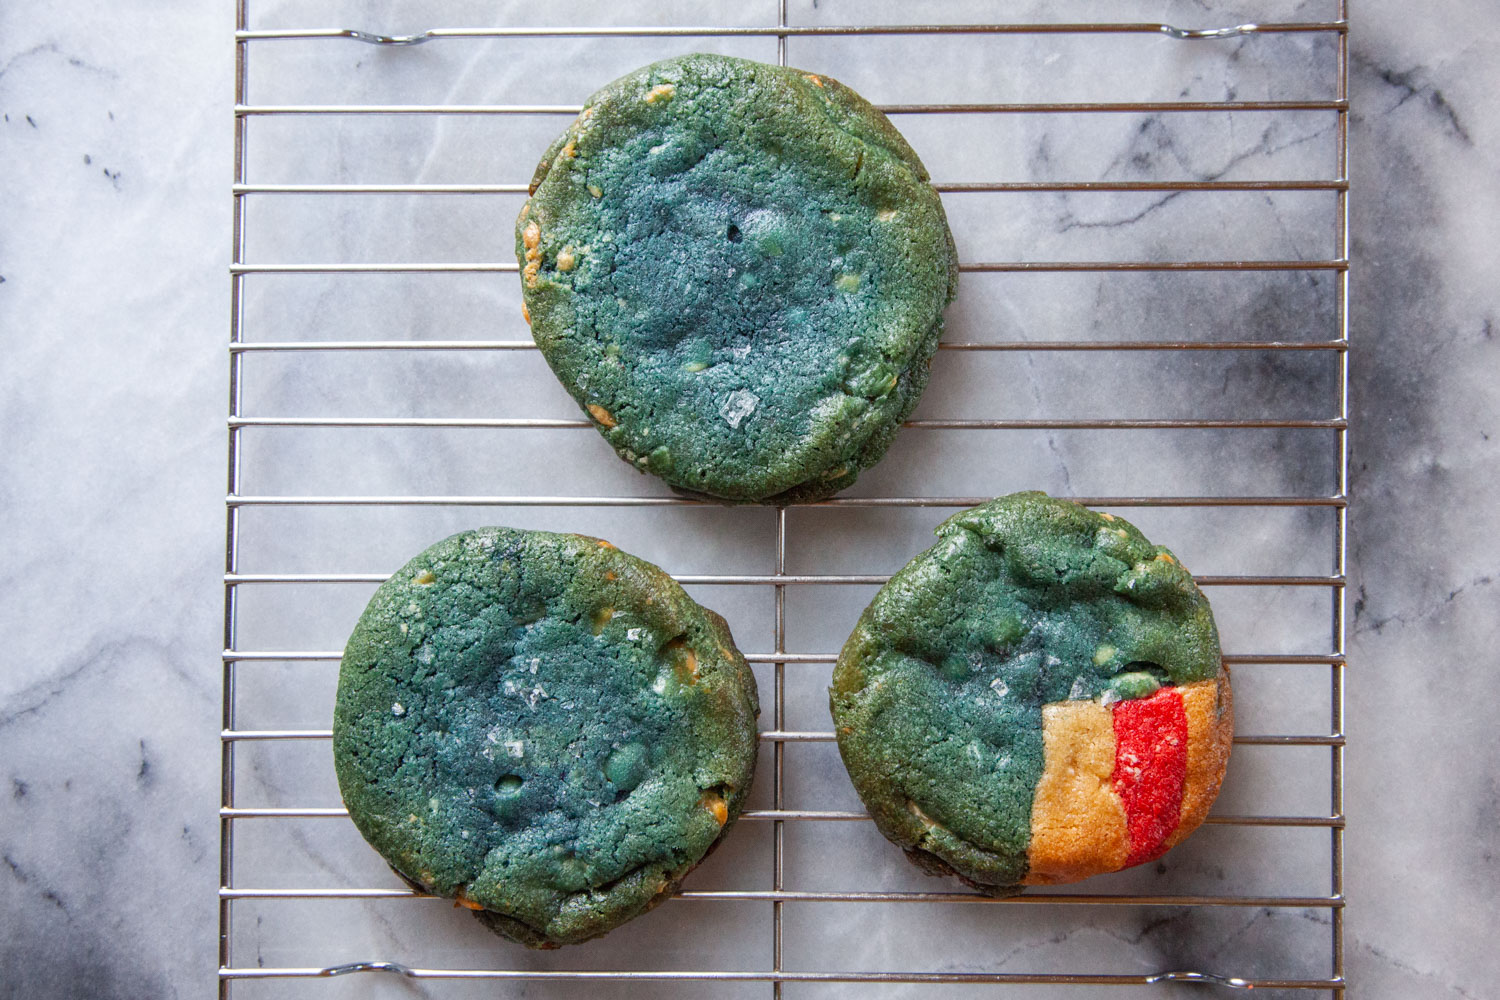
One thing to note. Because of the uneven amount of cookie dough necessary to make these cookies, once you’ve assembled them all, you’ll end up with two all-blue cookies, as well as a blue cookie that has a quarter red and white stripes dough in it, with a total of three cookies that don’t look quite as patriotic. Bake them off and nibble on them yourself, considering them private chef treats!
Here’s a video if you’d like to watch how to assemble and form these cookies.
Tips on making this cookie
- Chill the dough: Because this dough gets manipulated a lot by your hand, it tends to warm up a lot. If you bake the cookies immediately after forming them, they’ll spread a lot. I like to chill the dough before forming the cookies, which both improves the flavor and consistency as well as makes it easy to form the cookies. But I also like to chill the cookies after I form them as well. This prevents the cookies from spreading so much when they bake and keeping their shape and form. You can skip these steps if you are in a hurry but definitely space the cookies out much farther on the baking sheet. Keep in mind the cookies will be more difficult to make and they will when baked, they’ll form larger and thinner cookies.
- Add flaky sea salt or sparkling sugar: Because I use white chocolate chips in this cookie, I like sprinkling a little bit of sea salt on top of the cookie to temper the sweetness. But his completely optional. Feel free to skip it if the idea of salty sweet cookies seems odd to you, or sprinkle the top with sparkling sugar if you want the cookies to have an additional crunchy sweetness.
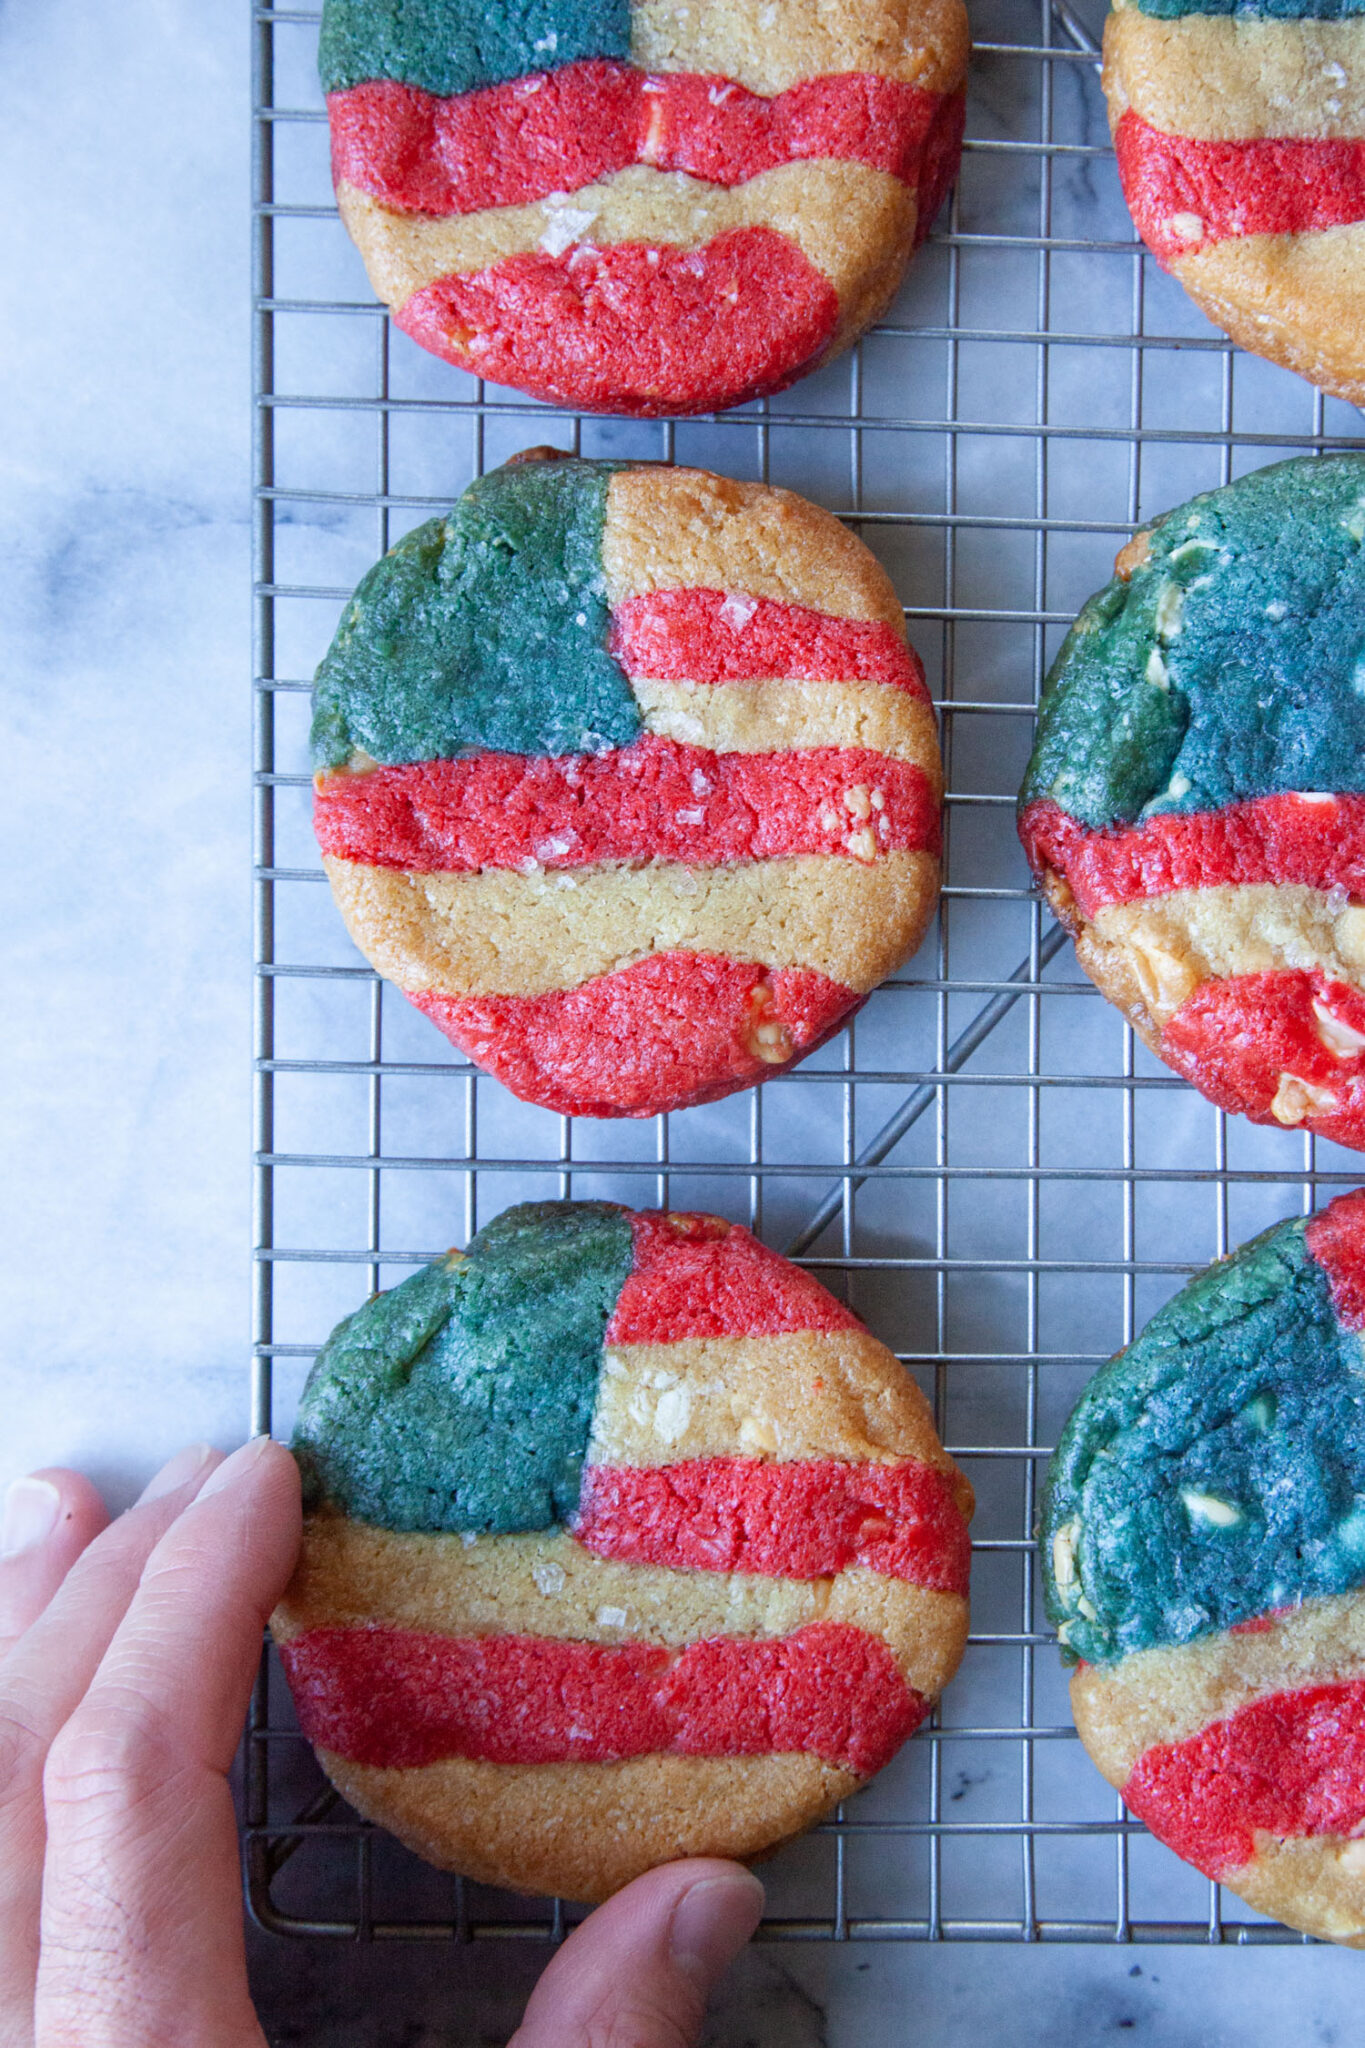
- Reshape while hot: If the cookies end up baking misshapen, just gently tap the sides of the cookie with a spatula or wooden spoon to form them back into a round cookie shape. While the cookie is hot, it will still be malleable. But work quickly, as you only have about 30 to 60 seconds to work before the cookies cool and start to firm up.
- Flip the quarter pieces: Keep in mind that sometimes you might need to rotate or flip the small quarter pieces to make them fit into the top red & white right corner, or the blue quarter. So don’t stress if it seems like the cookie parts don’t fit. Just flip them over so the red and white stripes still alternate.
- Use a different chocolate chip: You can omit the white chocolate chip, or use semi-sweet chocolate chips if you want. Keep in mind the chocolate chips might poke through and be visible, which I found a bit distracting, which is why I opted for white chocolate chips, which is a little more neutral in color. But they are your cookies, so use what you love!
What sort of food coloring should be used?
I formulated this recipe to use traditional liquid food coloring, the kind that you buy at the grocery store that come in the teardrop shaped tubes. It’s the most common form of food coloring and the easiest to get.
But if you want to use professional gel food coloring, you’ll get a much more intense color. Use less of the gel food color when coloring the dough. Starting with a few 1/4 teaspoon of each and then increase the amount if necessary. You can find professional gel food coloring at craft stores like Michaels, JoAnn’s, and Hobby Lobby or online (<- affiliate link). I like the Americolor gel food colorings.
That said, I don’t recommend using natural food coloring. Natural food color is great for royal icing or buttercream, but tends to fade quickly when heated or baked and isn’t vibrant enough for these cookies. However if you find a natural based food coloring that works for you, please leave a comment and let me know!
Can I make the dough ahead of time?
Yes! In fact, making the dough ahead of time is recommended, as the chilled dough makes forming the cookies much easier. Make the dough up to 3 days in advance.
Or make the dough and then freeze it. Just wrap the colored dough in plastic wrap, then place in a heavy-duty freezer Ziploc bag. The frozen dough will keep for up to 3 months. Just thaw it in the fridge overnight before assembling the cookies. You can also assemble the cookies if you want and freeze them. Just place them on a baking sheet until frozen through, then store them in a heavy-duty freezer Ziploc bag. Pull them out and bake them directly from the freezer, increasing the bake time by 2 or 3 minutes to accommodate for the cold dough.
How to store this cookie
Store these cookies in an airtight container, Ziploc bag, or under a cake dome for up to 3 days at room temperature. Or freeze them by placing them on a baking sheet in the freezer for 2 hours, or until they are frozen through, then store them in a heavy-duty Ziploc bag. Thaw them on the counter for 2 hours to bring them back to room temperature before serving. Frozen baked cookies last about 2 months in the freezer.
If you like these cookies, check out these other chocolate chip cookies:
- Bakery Style Chocolate Chip Cookies
- Sourdough Chocolate Chip Cookies
- Chunky Chocolate Chip Shortbread Cookies
- Extra Virgin Olive Oil Chocolate Chip Cookies
- Miso Peanut Butter Chocolate Chip Cookies
- Monster Cookies
- Mint Chocolate Chip Cookies
- Crispy Chocolate Chip Cookies
- Butterscotch Cookies with Triple Chips
- Reverse Chocolate Chip Cookies (pan-banging style)
- Chewy (not cakey) Pumpkin Chocolate Chip Cookies

Red, White, and Blue Cookies with White Chocolate Chips
Ingredients
- 1 1/4 cups unsalted butter 255 g or 2 1/2 sticks
- 1 3/4 cups white sugar 350 g
- 1/2 cup light brown sugar 110 g
- 1 tablespoon vanilla extract
- 1 1/2 teaspoon baking powder
- 1 1/4 teaspoon baking soda
- 1 teaspoon kosher salt
- 2 large eggs
- 3 1/2 cups all-purpose flour 490 g
- 2 cup white chocolate chips 370 g
- Red and blue liquid food coloring roughly a teaspoon each
To finish
- Flaky sea salt or sparkling sugar optional
Instructions
-
Place the butter, both sugars, vanilla extract, baking powder, baking soda and salt in the bowl of stand mixer fitted with the paddle attachment. Mix the ingredients together on medium speed until they are creamy and cling to the side of the bowl.
-
Add the eggs, one at a time, waiting until the first egg is incorporated before adding the second one. Be sure to scrape down the sides of the bowl before adding each egg. The batter will look “broken” but don’t worry. This is normal. Add the flour and slowly mix it. I like to “pulse” the mixer on and off quickly, until the bulk of the flour has been absorbed in the dough. If you turn the mixer just to on, flour will go everywhere. Just slowly mix it in. Once most of it is absorbed, you can turn the mixer on to slow to incorporate it fully.
-
Now add the white chocolate chips and mix in slowly. You can do this by hand if you want.
-
Now divide the dough into 3 even parts. If you have a scale, this is roughly 550 grams of dough. Pat one dough into 1-inch thick disk and wrap with plastic wrap. Place the second part of the dough in the mixer and add 1/2 to 3/4 teaspoon of the red liquid food coloring. Mix until evenly colored. Remove the dough, pat it into a disk that is 1-inch thick, and wrap in plastic wrap. Wipe out the bowl and paddle attachment with a paper towel (no need to clean it thoroughly, a little red dough won’t hurt the blue dough). Place the third piece of dough and add 3/4 to 1 teaspoon of blue liquid food coloring and mix until evenly colored then pat into a disk and wrap with plastic wrap. Place all the wrapped cookie dough in the refrigerator and let it chill for 2 hours or overnight, up to 3 days if you want. You can also freeze the dough at this point, keeping them wrapped in the plastic wrap and placing them in a large freezer bag. Thaw them in the fridge before assembling.
-
Once the cookie dough is chilled, line 4 rimmed baking sheets with parchment paper or silicon baking pads. Divide each dough into 8 equal pieces. If you have a scale, that about 65 to 70 grams each. Then take each piece and form a disk in your hands, about 2-inch wide by 1-inch thick.
-
Take a plain white disk of dough cut the disk into 6 strips. Repeat this with the red disk, cutting it into 6 strips. Take the one blue disk and cut it into 4 quarter pieces. Then take two red layers and one white layer and alternate them, then press them together to form half a disk. Set them aside and repeat with the two white layers and one red layer. You should have two half disks. Cut one of these half disks in half, down the middle. It should be the same shape as the blue quarter.
-
Then assemble a cookie. Take one of the half red and white strip and place it on the bottom. Add a blue quarter on the top left and the matching shape red and white striped piece on the top right. Squish together and set aside. Repeat this process with the remainder of the dough, keeping mind that the dough quarters that you cut might need to be flipped over or rotated to match the right side. Always pair up the half and quarter red and white striped pieces so the stripes continue to alternate.
-
Place 6 cookies on the prepared baking sheet spacing them out about 2 inches apart. Sprinkle the top of the cookies with some sea salt and place them in the refrigerate for 1 hour. This will help keep the cookie shape and prevent them from spreading. If you skip this step, place only 4 cookies per sheet and expect the cookies to spread a lot more and be flatter. While the dough chills again, preheat the oven to 350°F. Once chilled, sprinkle the top of the cookies with sea salt or sparkling sugar (if using) and then bake in the oven for 14 to 16 minutes or until the edges of the cookie start to turn light brown. If the cookies are slightly misshapen, just gently tap the sides of the cookie with a spatula or wooden spoon immediately after they come out of the oven. You have about 30 seconds to do this, while the cookies are still warm. Once they cool, the firm up and you can’t manipulate them in the same way. Let the cookies rest on the baking sheet for 5 minutes before moving them to a wire cooling rack. Cool completely.

Video
Notes
Nutrition
The post Red, White and Blue Cookies with White Chocolate Chips appeared first on Eat The Love.